IM BACK!!! Let’s get into it my friends.
So…
When I set out to bake something new, I tend to gravitate towards recipes that look complicated.
Why is that?
Aside from me being a Sagittarius and having a penchant for impulsively tackling large projects that are likely to give me a little bit of anxiety, I really love learning new things. Specifically new techniques in the kitchen.
When I decided to try my hand at making brioche bread, I started researching recipes. As always, when you consult Google for a recipe, your first results will likely be ones from blogs like Sally’s Baking Addiction, Food Network, or AllRecipes.
And while those are all well and fine, I kind of wanted to try something a bit more unique for this project. So, when I came across Claire Saffitz’s recipe for All Purpose Enriched Bread for NYT Cooking, I decided to go for it.
Claire’s recipe combines the traditional techniques of brioche bread, as well as a process known more in Japanese cuisine called tangzhong.
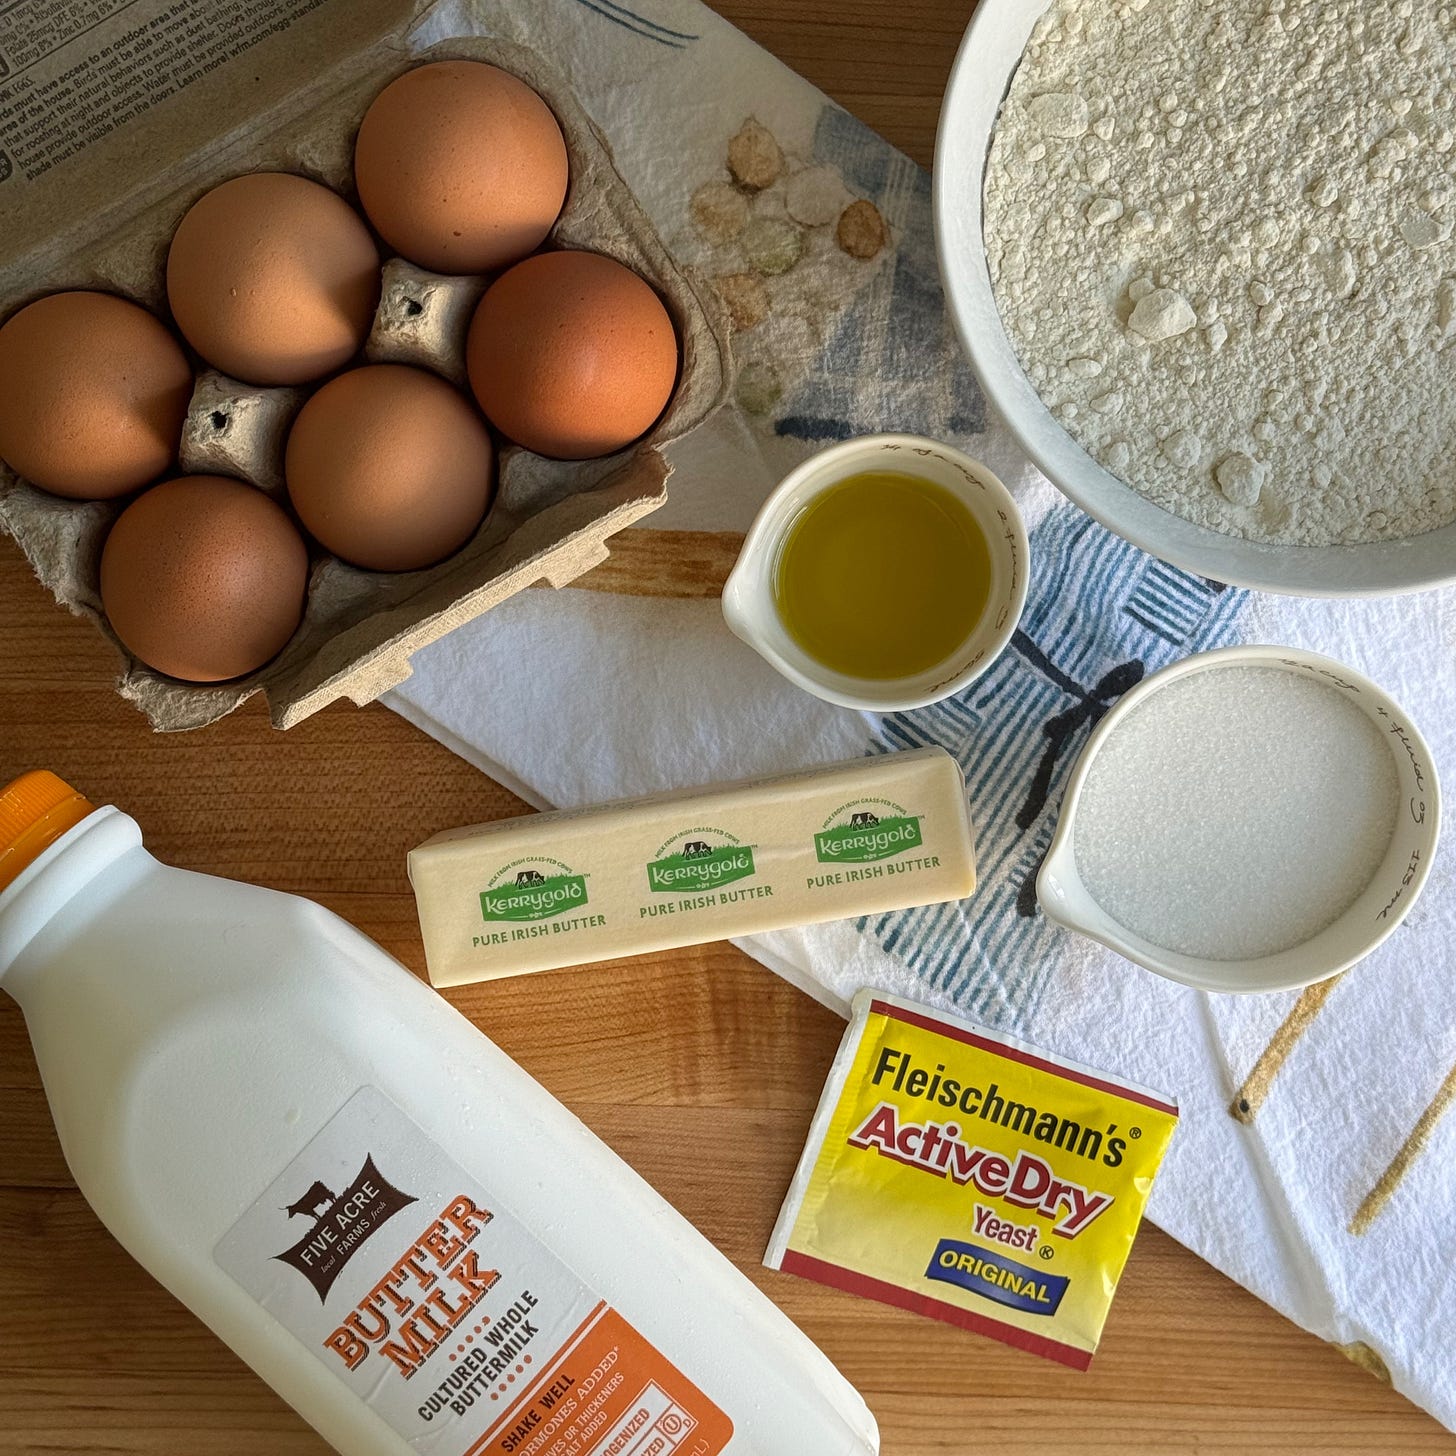
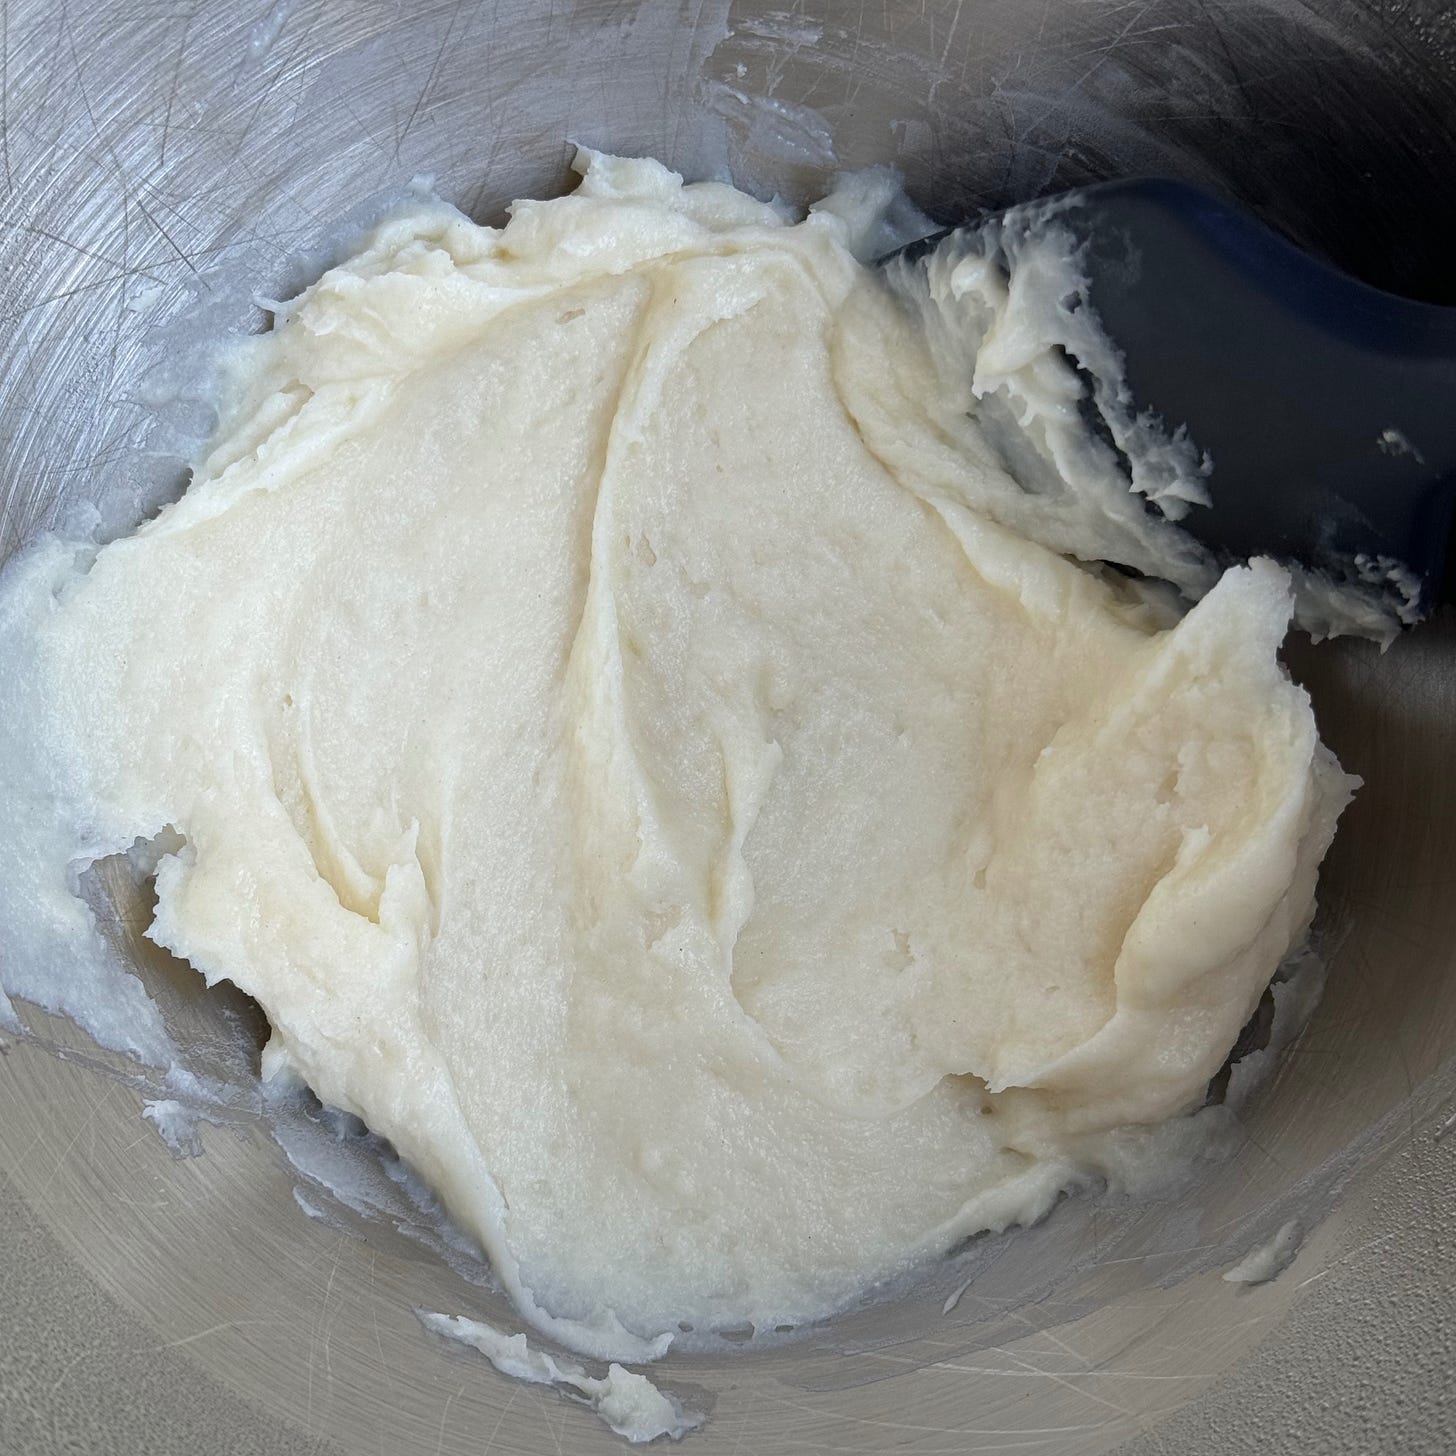
A tangzhong is basically a roux, made by mixing a liquid with flour on the stove to create a sort of thick slurry/paste. This recipe called for milk, more specifically buttermilk, and 6 tablespoons of flour. Using a tangzhong helps to improve the texture of the bread, allowing it to hold onto more moisture and makes for a very pillowy and soft dough/crumb.
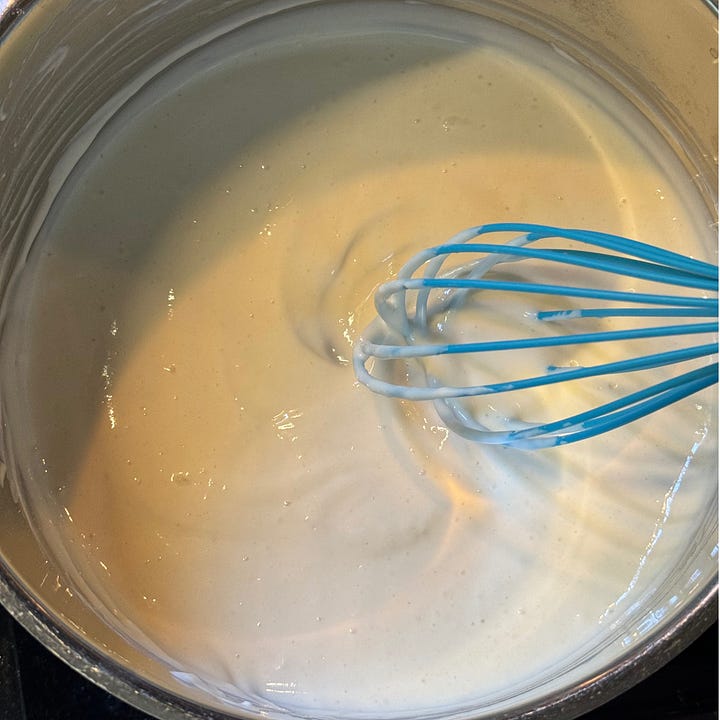
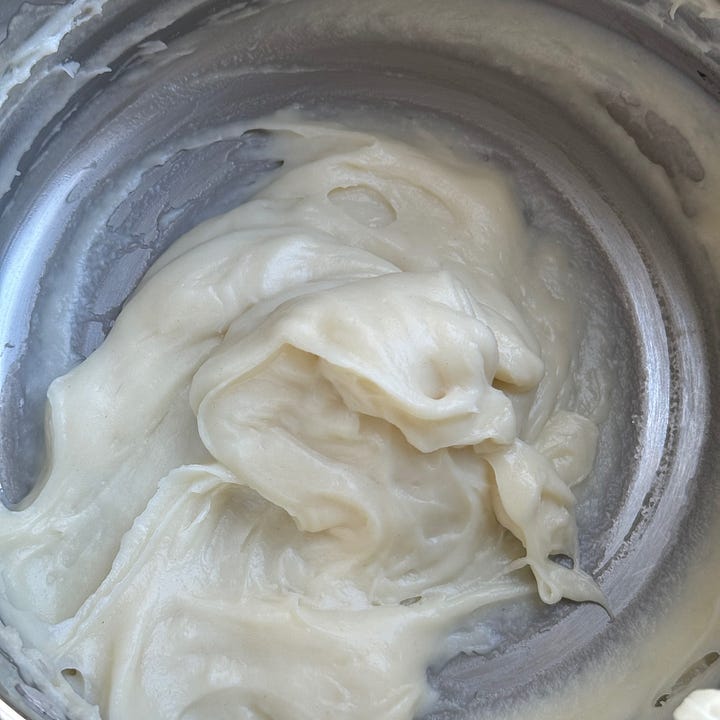
I had never made a tangzhong before, so while I was a bit intimidated when I saw this mentioned in Claire’s recipe, my heart sang because I am nothing if not willing to take on a challenge when it comes to baking! After finishing it, it truly was just like making a regular roux like you would for mac and cheese. It came together in about 2.5 minutes on medium heat, and looked like smooth mashed potatoes, just like Claire said it would.
That’s one thing I truly looove about her recipes; they are so clear and SO accurate. Pretty hard to mess up in my opinion as long as you have the right tools!
After you make your tangzhong, you have to let it fully cool and come to room temp on the counter. In a lot of baking recipes, you’ll see that the author recommends working with softened or room temperature ingredients, be it the eggs, butter, milk or water.
For THIS recipe, however, you need to work with super chilled ingredients, similar to how you need very cold butter when making a pie crust from scratch. Claire mentions in her recipe video that heat is the enemy of this recipe, and that you really NEED cold butter when you get to that stage in the process. The dough is much easier to handle when the ingredients are cold + when the dough has been properly chilled itself.
As stated in the name of the recipe, this is an enriched dough.
There are two categories your yeast bread can fall into: Enriched or Lean.
Enriched dough basically means that there is some kind of fat/sugar/dairy added in that gives it an extra richness and tender crumb, like butter, oil, eggs. Think cinnamon roll dough, challah, etc.
Lean dough is the opposite, so there is little to no fat involved, and usually only includes 4 ingredients. If you’re familiar with sourdough, that is NOT an enriched dough, because it only uses flour, water, salt and yeast (your starter). Some other examples of a lean dough are French baguettes and Ciabatta.
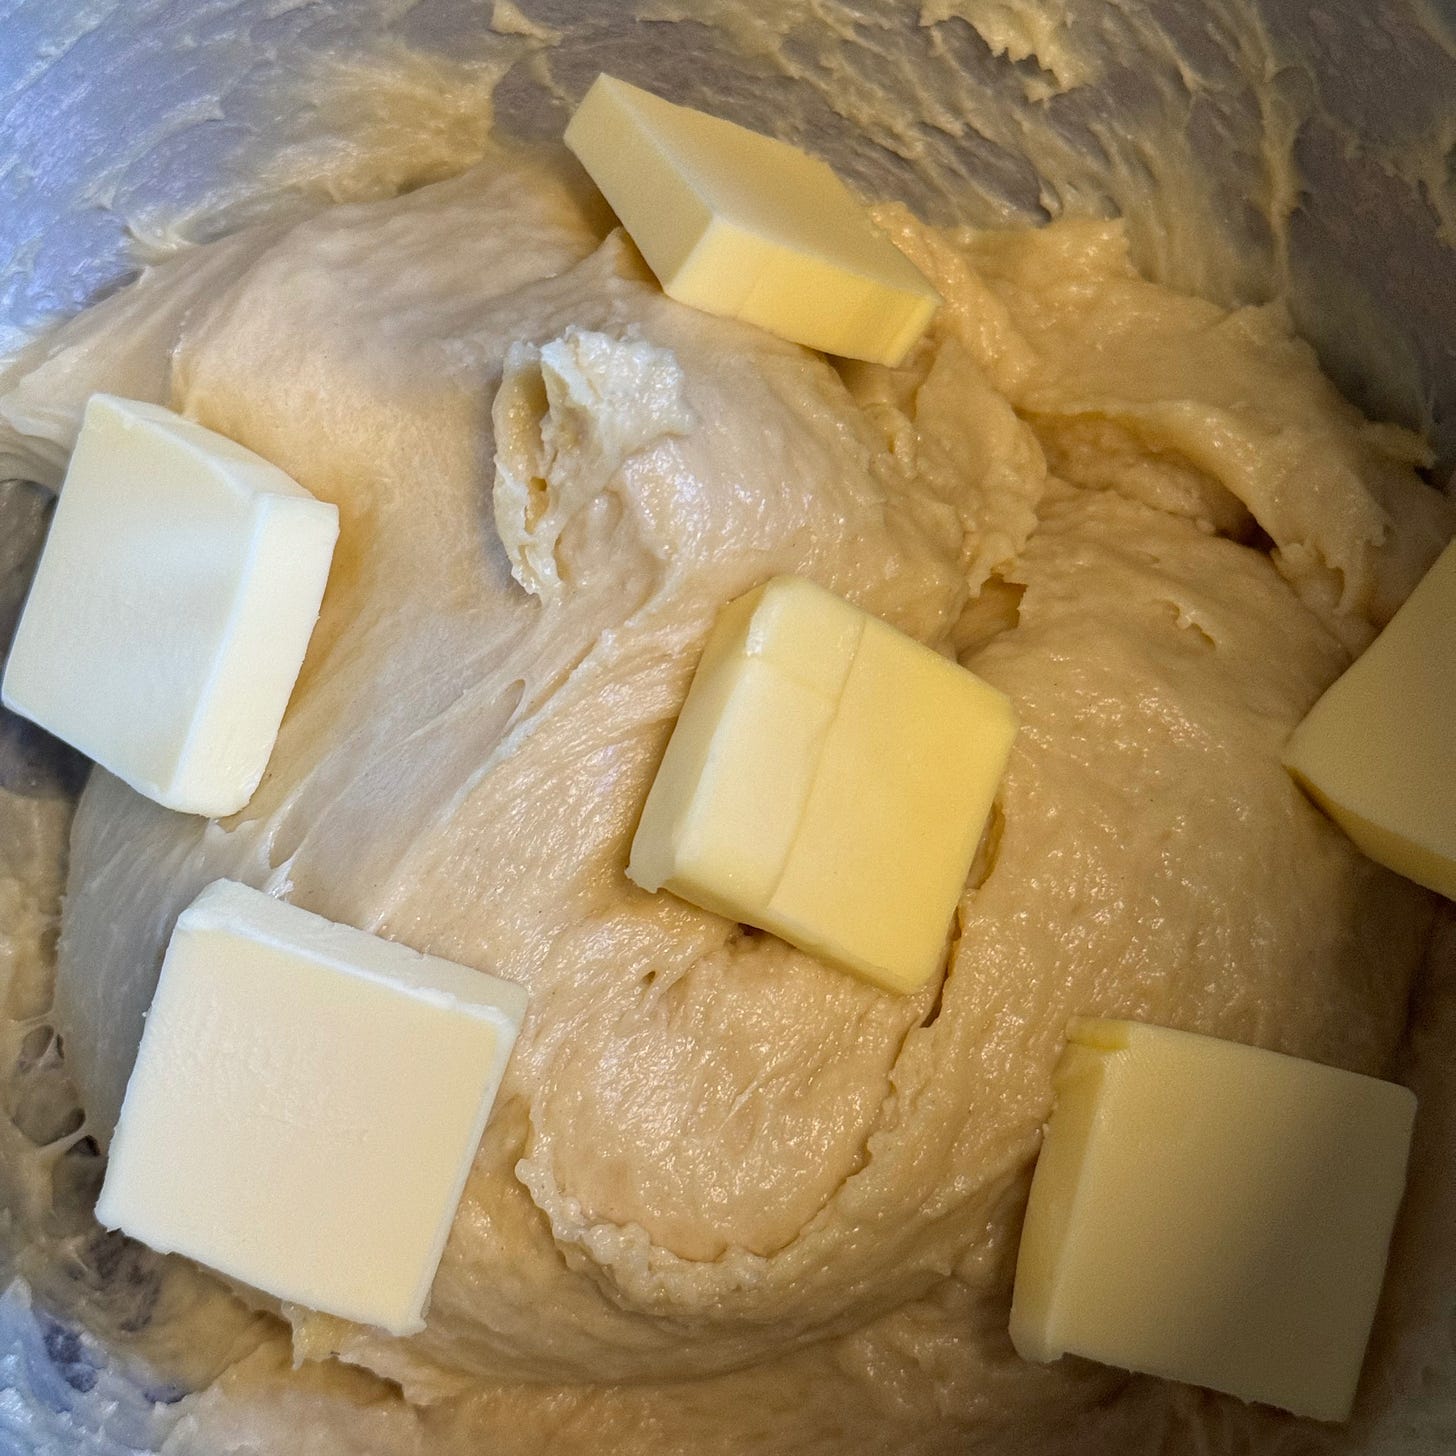
Once I added the first half of the butter to the dough is when things started to get a little rocky for me.
It was at that moment that my kitchen aid mixer started to get really hot… and it smelled like something was beginning to burn. YAY :))))
After adding the second half of the butter, I finally consulted my brother, the engineer, and we decided that ol’ faithful is probably kicking the bucket and that it was best if I turned it off before it either completely died or God forbid started a fire or something.
So, I broke out the manual hand mixer with the little hook attachments, rolled up my sleeves and worked my right bicep and kneaded/mixed the dough like that until I felt like I was going to pass out. (Not really)
But I did mix it like that for another 10 MINUTES STRAIGHT!
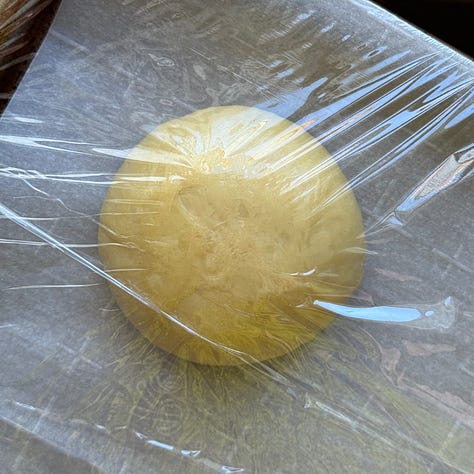
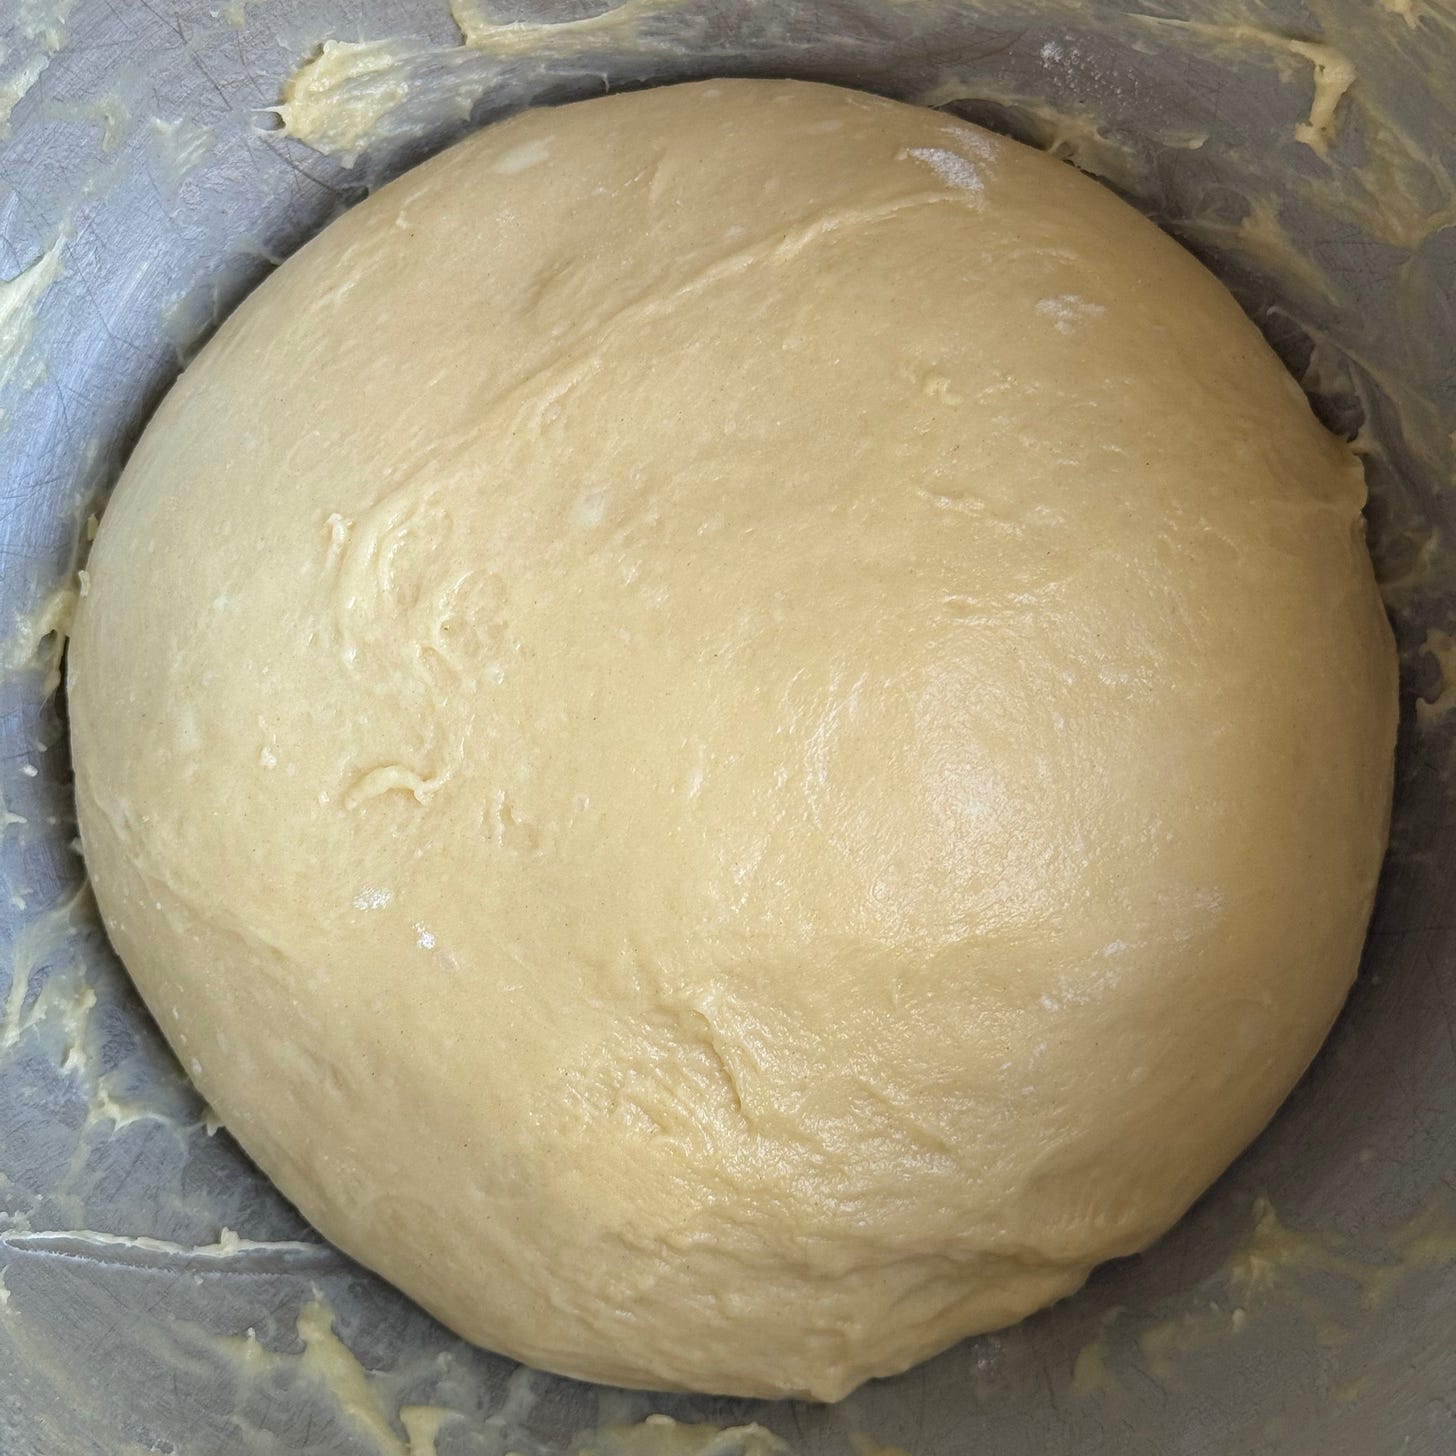
After that little bump in the road, I performed the windowpane test and decided we were good to go, and it was time to cover with plastic wrap and begin the proofing process.
30 minutes on the counter at room temp
4-24 hours in the refrigerator
Here is what my dough looked like right before the 30-minute counter proof began…
Once the 4-24 hours were up (I ended up doing ~16-17 hours, so overnight starting at 4pm), I took it out of the fridge and began to prep my pans with butter and parchment.
Unfortunately, I forgot to take a photo of how nicely the dough rose in the fridge overnight, so let’s move on.
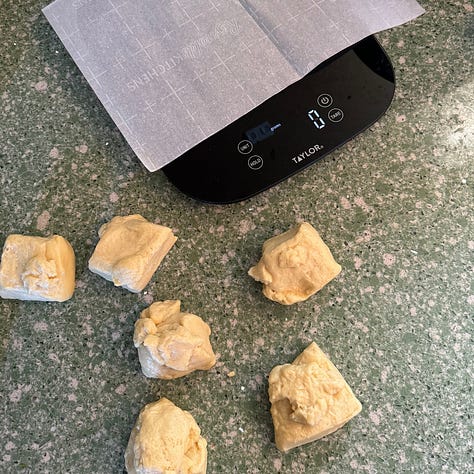
After I dumped the chilled dough out on the counter, I measured out 8 dough balls that each weighed about 70 grams each.
Now, the recipe technically makes 2 full loaves, or 16 little dough balls, but I only made one regular sized loaf, hence why I only made 8 little balls.
The other half of the dough was separated into 5 larger balls to be made into brioche hamburger buns!
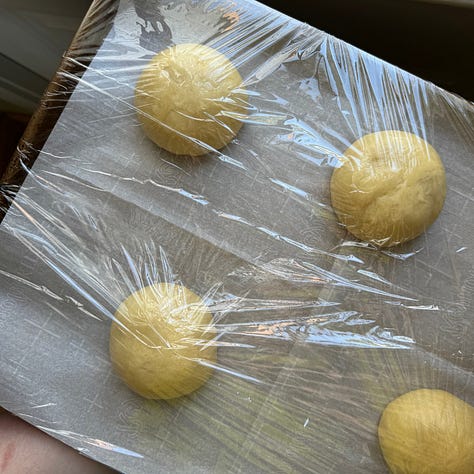
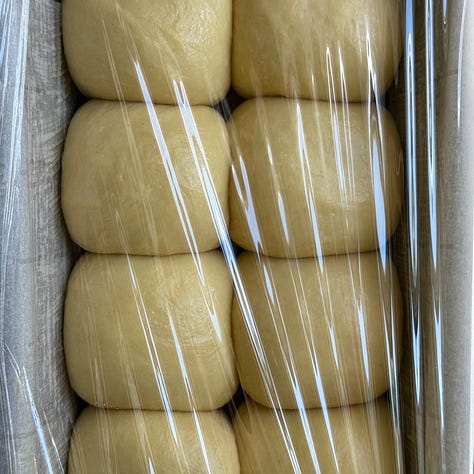
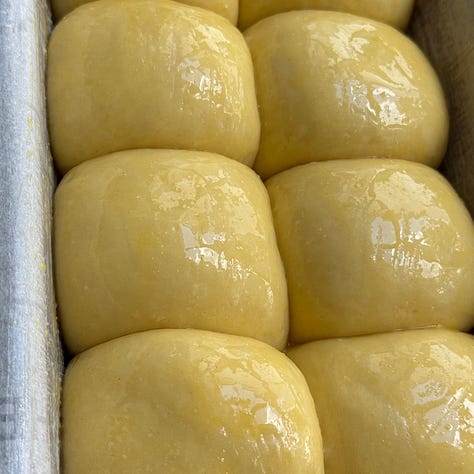
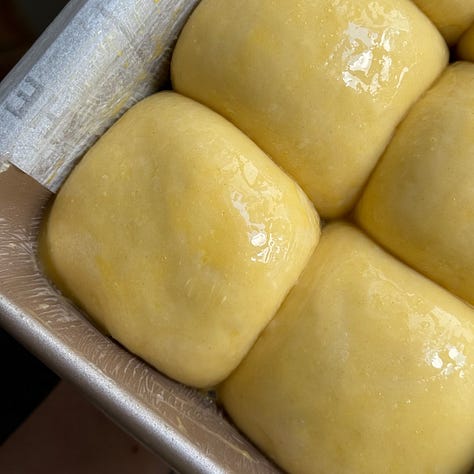
The dough balls are just so cute and perfectly even, please enjoy this little photo dump of them.
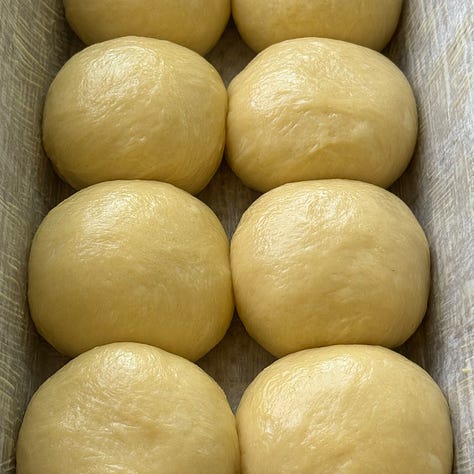
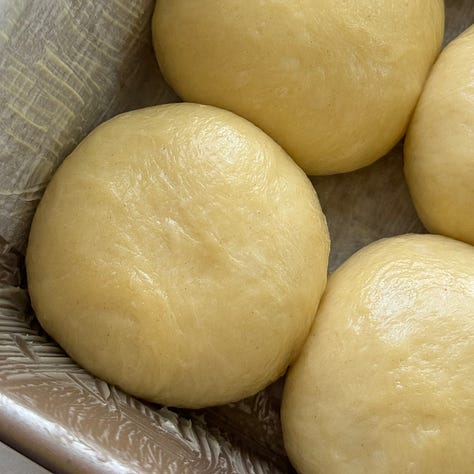
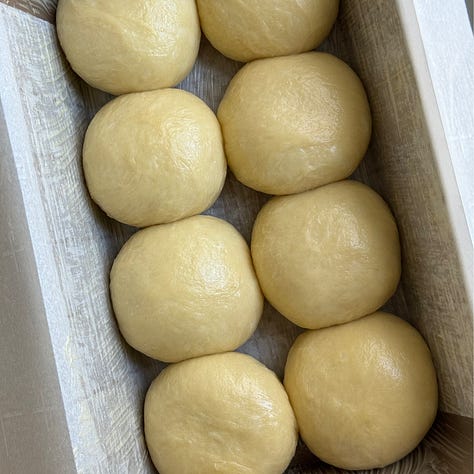
Unfortunately, it seems when you choose a complicated recipe, there is almost always a lot of waiting that goes along with it. Especially for bread!
Now that the dough has been shaped and placed in the pan/on the sheet tray, it’s time to wait ANOTHER 1.5-2 hours for them to puff up, come to room temp after being in the fridge all night, and be ready for the oven.
Baking and patience go hand in hand, which is a struggle for me, since I’m probably the least patient person ever when it comes to making things.
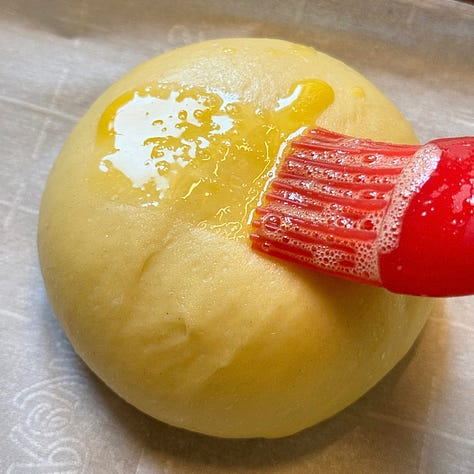
Once the dough was properly proofed (you should be able to poke it lightly and it springs back while leaving a slight indentation), and looking like a beautiful little pillow you just want to lay your precious head on and take a nap, I brushed it with a simple egg wash and threw it in the oven at 350 for 25-30 minutes, rotating them after 15 minutes.
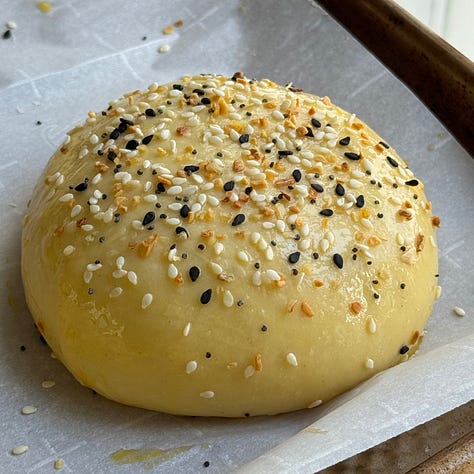
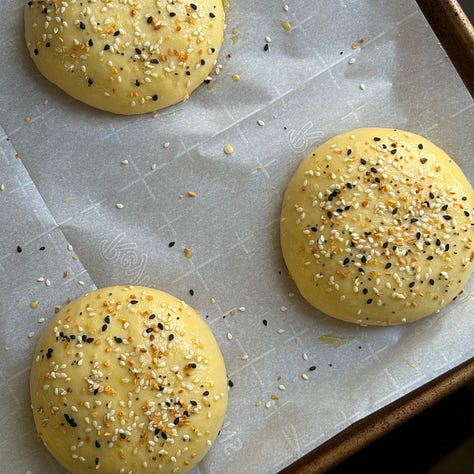
For the burger buns, use the same temperature but only keep it in there for about 18-22 minutes, rotating around the 13-minute mark.
Aaaaand viola!
First let’s take a look at the buns…
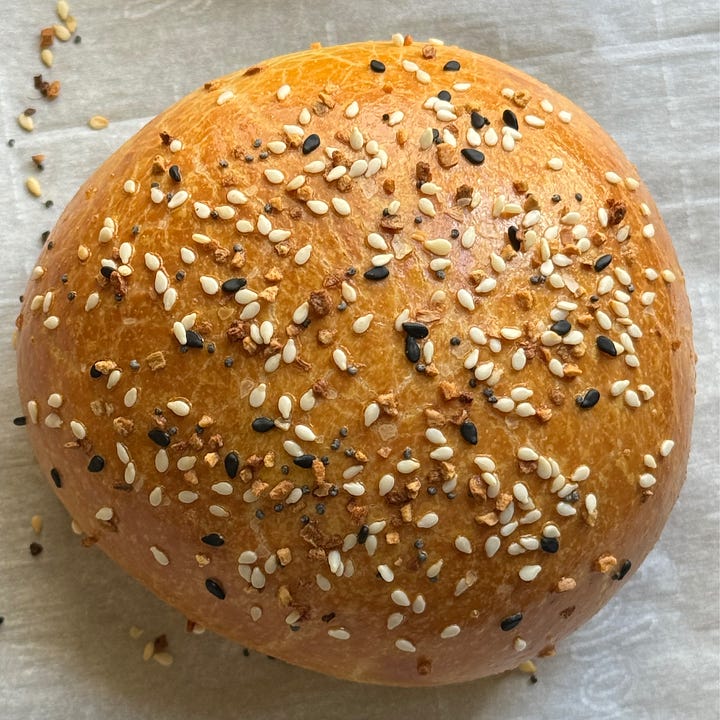
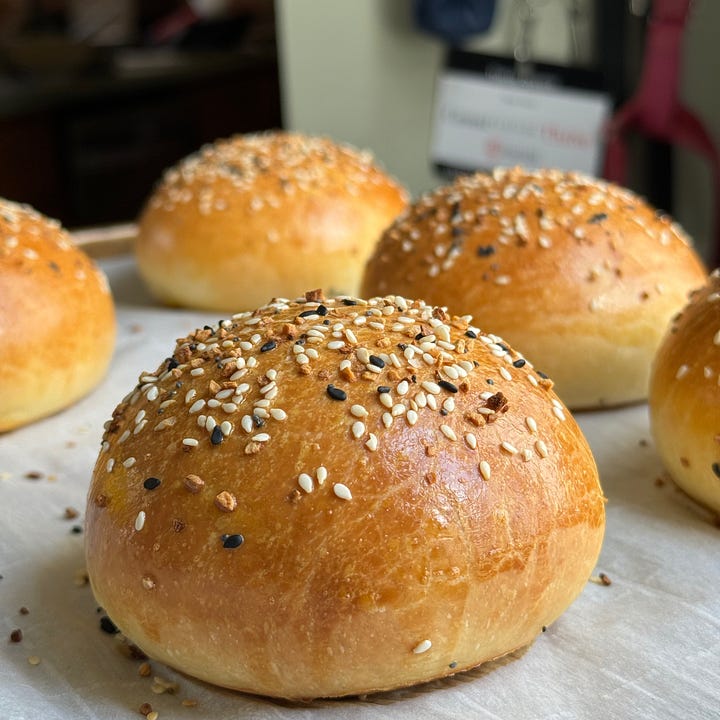
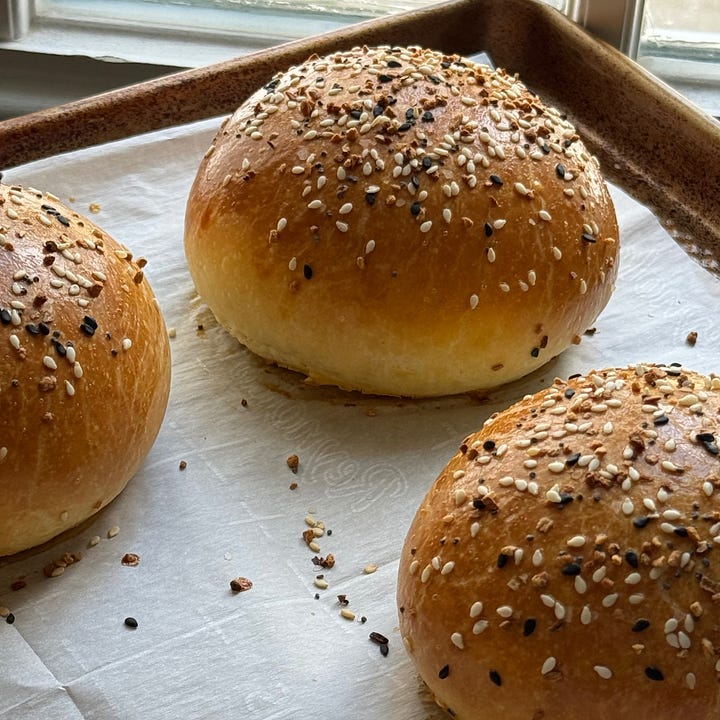
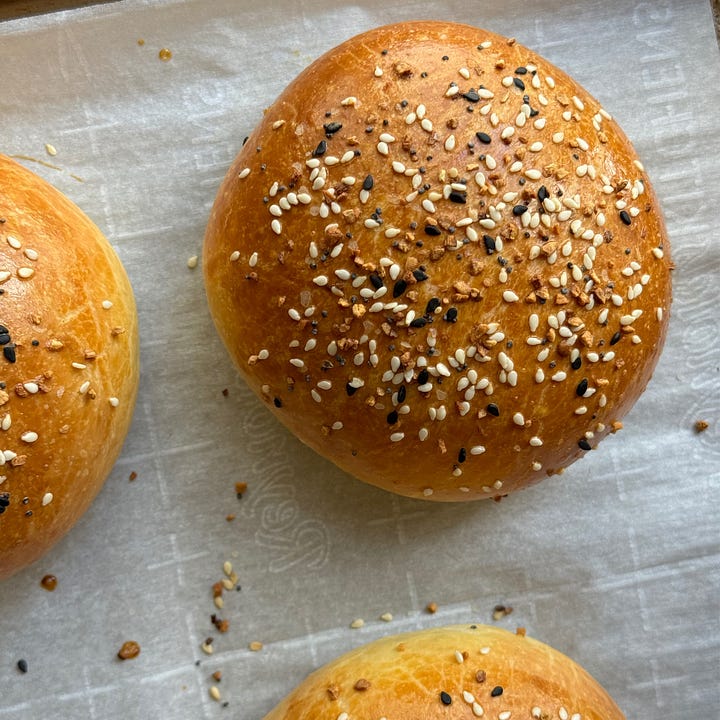
These came out so good, I’m truly so proud of both the loaf and the buns. The buns are so perfectly round and even, I’m so glad that I decided to measure them out in grams instead of eyeballing them.
The loaf is just as gorgeous! Look at that…
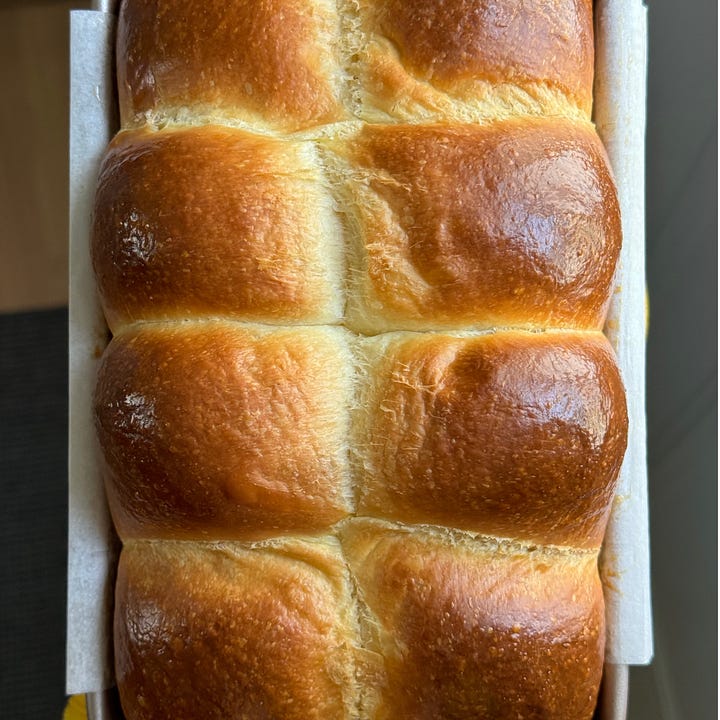
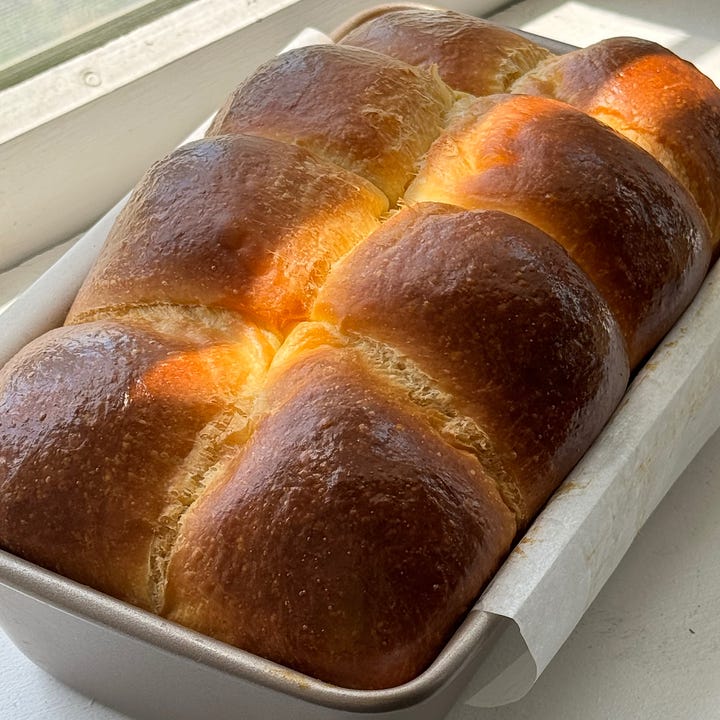
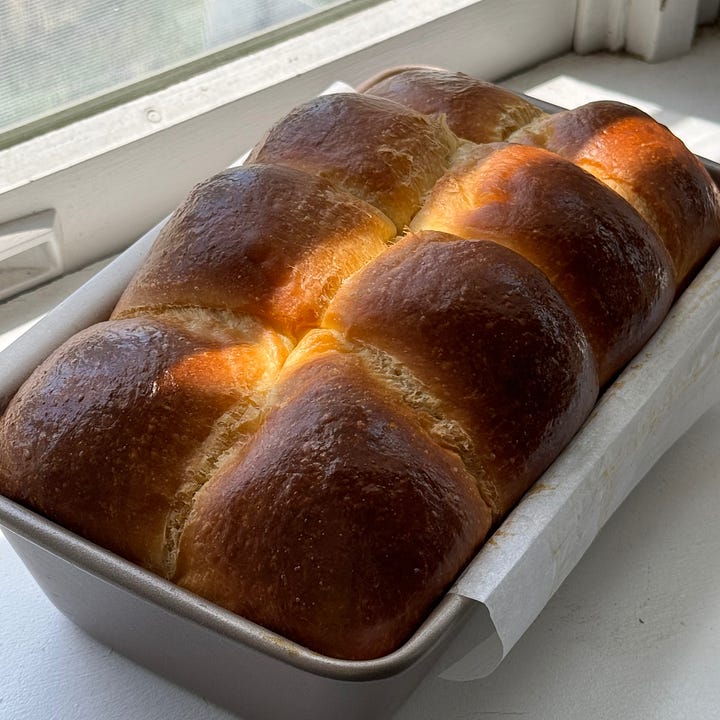
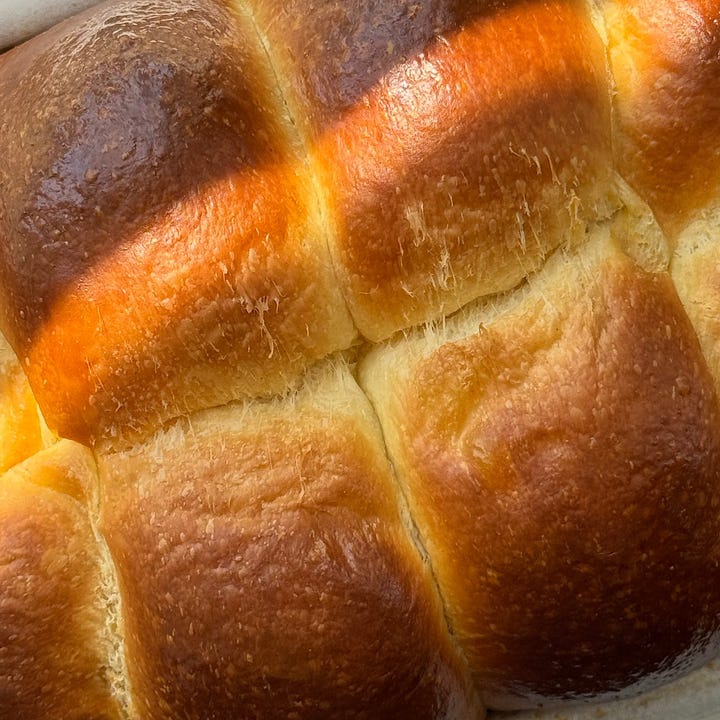
Again, patience is a virtue here, so I waited another full 2 hours before I cut this bad boy open, and when I did…
Tears of joy. The crust is so nicely browned, the crumb is soft and tender and perfectly cooked.
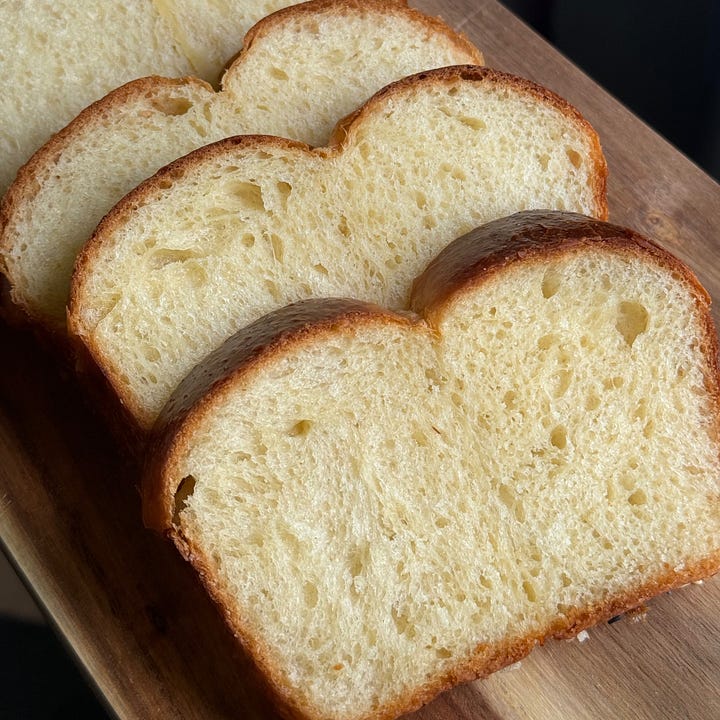
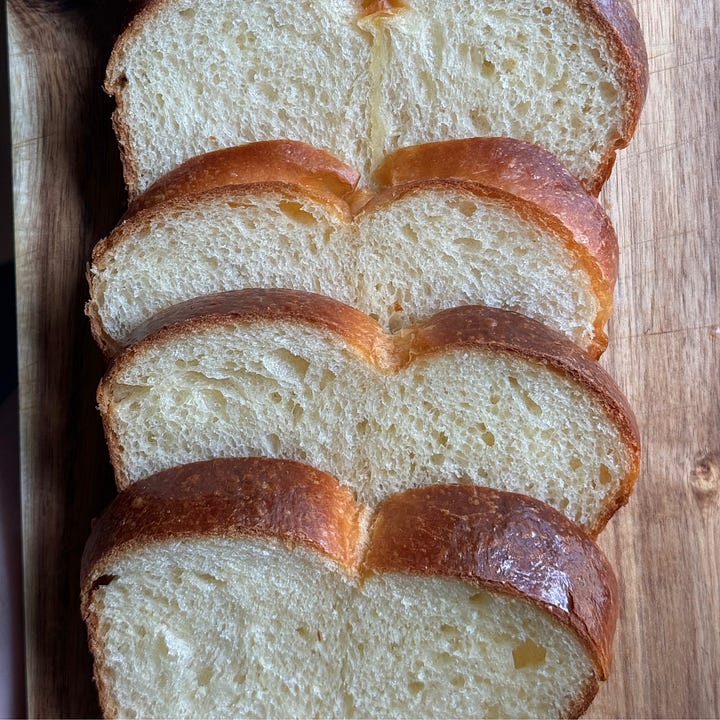
We’ll probably use the buns for the Fourth of July and make some pulled pork and slaw so stay tuned for that, I may provide an update with that!
And the brioche slices will be used for sandwiches, toast with eggs, and maybe even some French toast if we have some going stale towards the end of the week.
At the end of the day, I’d rate this recipe a 10/10 for quality a
nd a 2/10 for difficulty. It really wasn’t that bad! Just a lot of waiting, which we all know isn’t my strong suit. #haha
Thanks for coming along on this journey with me and come back next time for episode 2 of All Things Bread.


Oh I love this
Everything looks so good ! One day I'll get a big mixer. You have such patience I don't know if I could wait so long - but your directions and pics were so great !!!